Container - JFrog Artifactory
There are 3 benefits to integrating JFrog Artifactory:
-
On-premise Container Registry integration, where Snyk can find container images to scan.
-
Package Repository integration that will help Snyk identify the package information in Artifactory when the pom.xml indicates the location of the private registry (in the case where packages won’t be verified from the public sources).
-
Gatekeeper to block people from downloading open source packages based on severity of vulnerabilities identified.
This post will focus on deploying JFrog Artifactory in preparation for all three.
Instructions directly from JFrog are here, JFrog Help Center .
Step 1 - Java
You will need Java installed on the host system to demonstrate this. Here is a post to set it up if you haven’t already, Laptop Install Java & maven .
Step 2 - Environment Setup
-
Create a
$JFROG_HOMEdirectory somewhere on your system. I usemkdir ~/Documents/jfrog -
Setup an environment variable for
$JFROG_HOMEso that it can be found. Addexport JFROG_HOME=~/Documents/jfrogto your ~/.zshrc, save the file. -
Type
source ~/.zshrcto load the new settings into your current terminal session.
As per the documents on the JFrog website run;
mkdir -p $JFROG_HOME/artifactory/var/etc/ cd $JFROG_HOME/artifactory/var/etc/ touch ./system.yaml sudo chown -R 1030:1030 $JFROG_HOME/artifactory/var sudo chmod -R 777 $JFROG_HOME/artifactory/var
Step 3 - Build a Container
A couple of notes:
-
You’ll be using the OSS (open source software) version of the image.
-
Make sure to stop any other containers running with the ports in this run command. JFrog did not like when I changed the ports and would not run correctly.
-
The Artifactory also did not run when it was instantiated while the host system was connected to a VPN.
-
The version specified in this run command worked well, however others did not.
docker run –name artifactory -v $JFROG_HOME/artifactory/var/:/var/opt/jfrog/artifactory -d -p 8081:8081 -p 8082:8082 releases-docker.jfrog.io/jfrog/artifactory-oss:7.77.5
Once completed you can navigate to http://localhost:8082/ui/ and login with admin/password.
Step 4 - Configure Repositories
After you’ve logged in it should prompt you to change the admin password and continue on with setup where you can add repositories. Choose Gradle and Maven in the wizard.
If you’ve clicked skip instead, Navigate to Administration (gears top left), Repositories, Repositories. Click Add Repositories, Local Repositories.
Step 5 - Proxy Maven Through JFrog
-
Navigate to
Application, Artifactory, Artifacts, and selectlibs-release-local(this is the local Maven repository). -
Select
Set me upin the top right. Dismiss the generate token step for now. -
Click
Generate settings. This will build a code block to use for settings.xml, which is used to tell Java where to get dependencies. -
There may be a few places you need to point to Artifactory:
-
Start by saving that code block to
~/.m2/settings.xml. This will affect the current user on the system only which should be enough for a proof of concept. -
Use this step if you need this to affect all system users. You should have created an $M2_HOME environment variable in Step 1. Move the existing settings.xml file out of the way for now with
cp $M2_HOME/conf/ $M2_HOME/conf/settings.xml.orig(or whatever you want to call it). Create a new$M2_HOME/conf/settings.xmlfile and paste in the generated settings. -
You will also want to copy pom.xml
-
There are a couple of changes I had to make to mine to get this to work:
- I had to use the first settings line from the Java distribution and not the one they provided;
<settings xmlns="http://maven.apache.org/SETTINGS/1.2.0" xmlns:xsi="http://www.w3.org/2001/XMLSchema-instance" xsi:schemaLocation="http://maven.apache.org/SETTINGS/1.2.0 https://maven.apache.org/xsd/settings-1.2.0.xsd">
- Directly under the server line I added a username and password:
<username>admin</username> <password>2!gcPK!nbbFmywL_tkm</password>
Step 6 - Test the Proxy
-
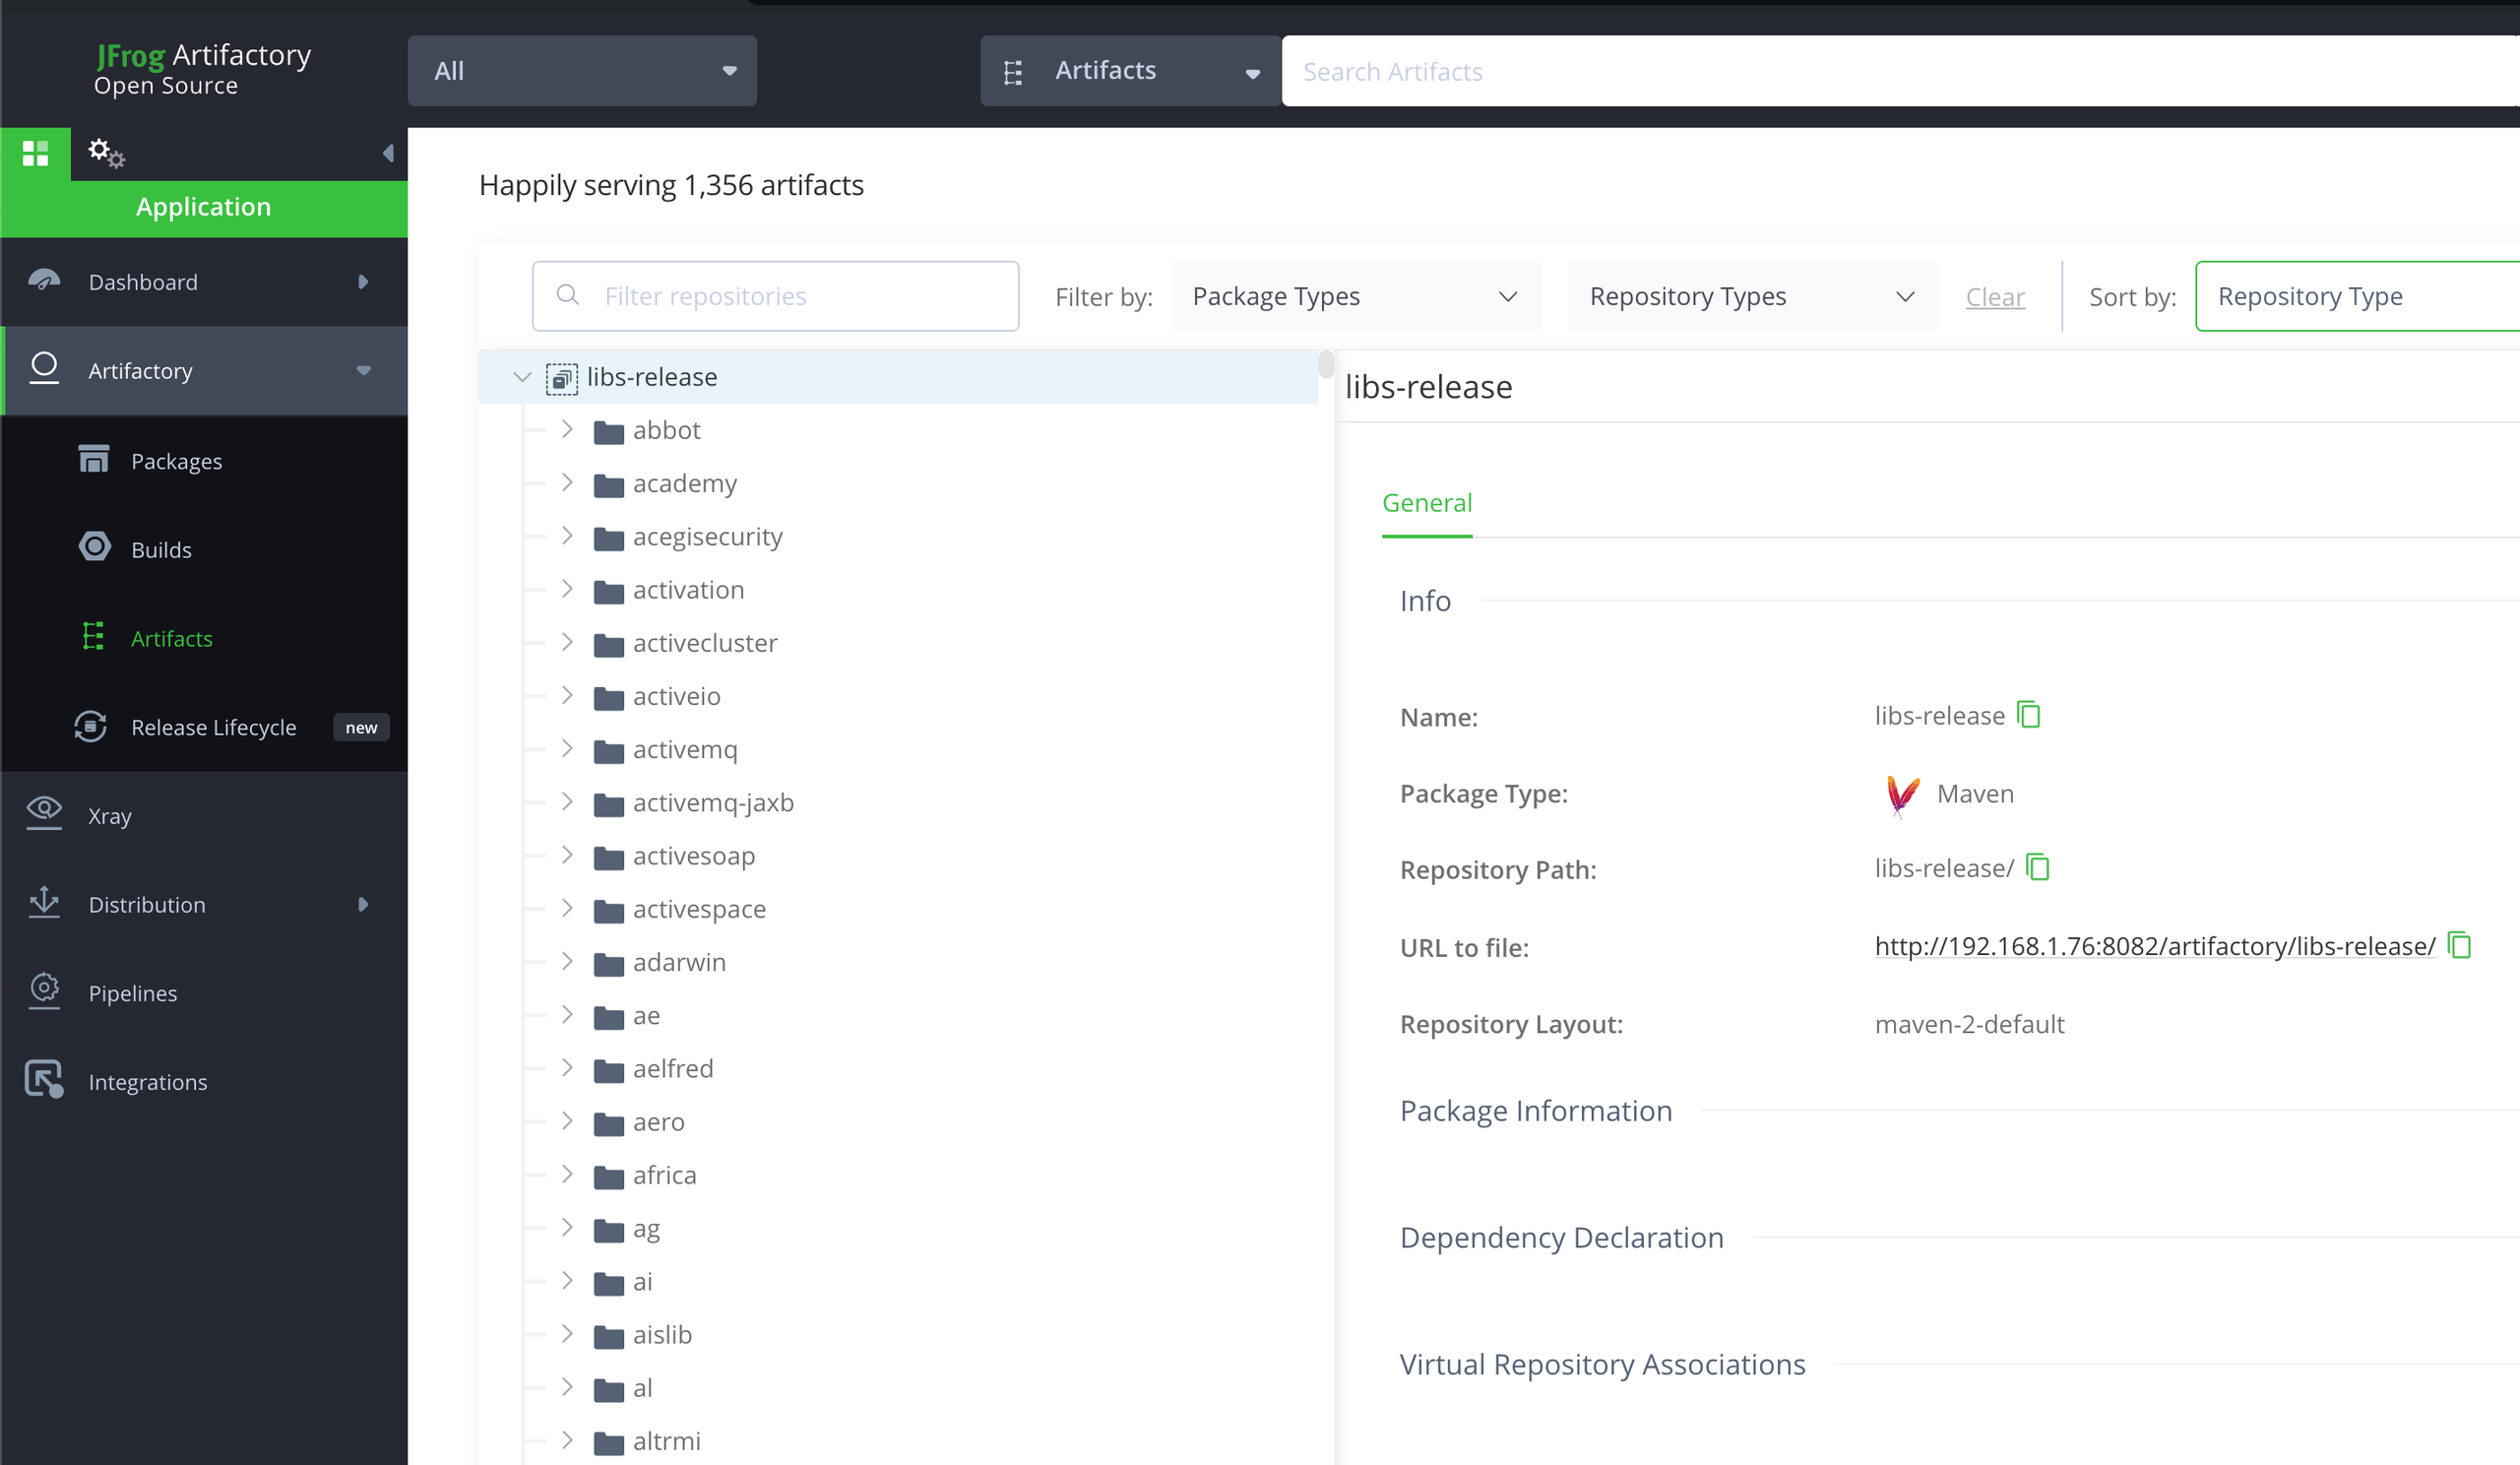
Login to Artifactory by navigating to
http://localhost:8082, in the upper left chooseApplication, Artifactory, Artifacts, and expandlibs-release. There shouldn’t be anything in here as a new install. -
Clone a new maven based repository somewhere new on your system. You can use Java Goof by changing to the desired directory and running
git clone https://github.com/snyk-labs/java-goof.git . -
Change into the new Java Goof directory and install the dependencies with
mvn install. -
Login to Artifactory by navigating to
http://localhost:8082, in the upper left chooseApplication, Artifactory, Artifacts, and expandlibs-release. There should now be a list of all of the packages that were installed. It will look similar to this:
If you get errors with the mvn install or packages are not showing up in Artifactory yet revisit Step 5.
Next, be sure to look for other posts with the tag artifactory to find each of the use cases.